Home Brewing | Equipment | Making the Wort Chiller
After boiling the wort with the hops the wort needs to be cooled to blood temperature so the yeast can be added. With around 30L of wort this can take a while, and during this time bacteria can get in and bad things can happen.To speed up the process, a wort chiller is used to rapidly cool the wort down so the yeast can be pitched sooner and fermentation can start. There are generally two kinds of chiller - immersion chillers (ICs) and counterflow chillers (CFs). Immersion chillers generally sit in the wort and have water running through them. Counterflow chillers have wort running through them and cold water running around the path the wort takes.
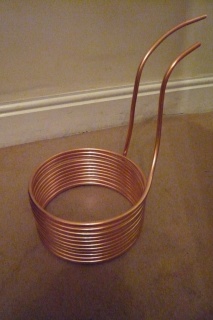
I made a simple immersion chiller out of a 10 metre length of 10mm copper pipe.
Materials Used
- 1 x 10 metre length of 10mm copper pipe
- 2 x 10mm to 15mm pipe adaptors
- 2 x lengths of garden hose
- 2 x hose clips
Tools Used
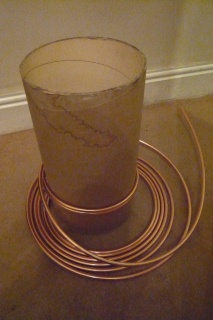
- A former - in my case a carpet tube - people have used paint cans
- A blow torch
- Solder Flux
- Boiling water
- Screwdriver
- A rolling pin (optional)
Method
Get the former and start bending the copper pipe around it, leaving about a metre of pipe at each end to make the inlet / outlet sections from. Try to keep the coils as tight to the former as you can make them.

