Home Brewing | Equipment | Making the Fermentation Chamber
The fermentation temperature can make a huge difference to the taste and quality of a beer. Too cold and fermentation struggles to get underway risking low attenuation or infection from a wild yeast; Too hot and the yeast can give off flavours to the beer.
After a couple of mediocre brews I set about making one using an old fridge. Hopfully it will improve the quality of my beers and also enable me to make lagers, which are fermented at lower temperatures than ales.
Materials Used
- 1 x Fridge off Freecycle
- 1 x 60 watt tube heater from Toolstation
- 1 x TC-10 Digital Thermostat
- 1 x PC case fan
- Terminal blocks and wire
- Cable ties
Tools Used
- Soldering Iron
- Drill
- Screwdriver
Method
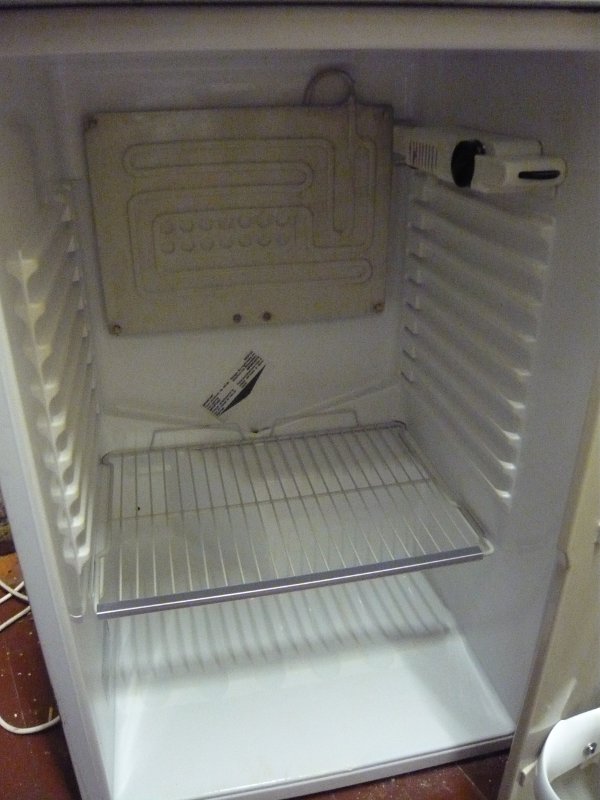
Obtain the fridge and give it a good clean - don't want nasties near the beer. This is a sturdy older fridge with lots of space, strong shelves and the compressor out of the way at the bottom - perfect.
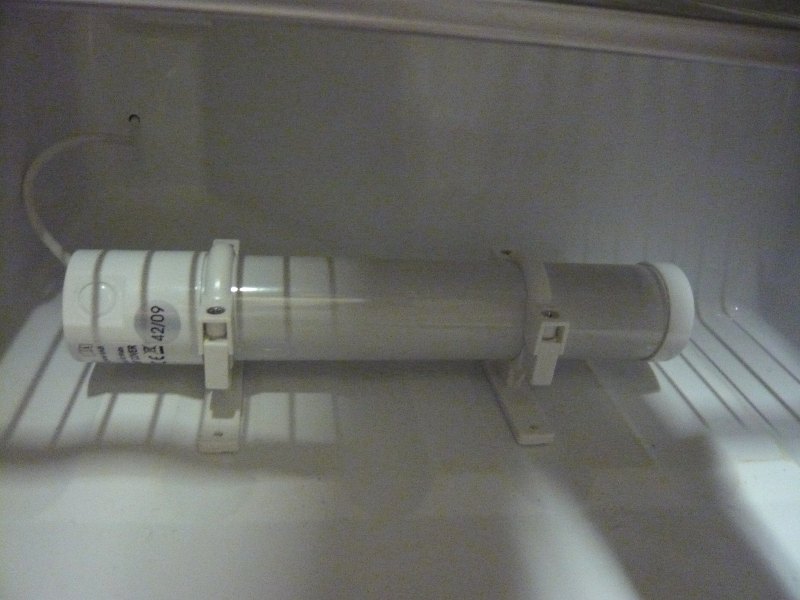
Put the tube heater on the bottom of the fridge - it can be screwed down but I'm leaving it movable for now. Drill a hole in the back of the fridge for the heater power cable, sensor lead and fan power.
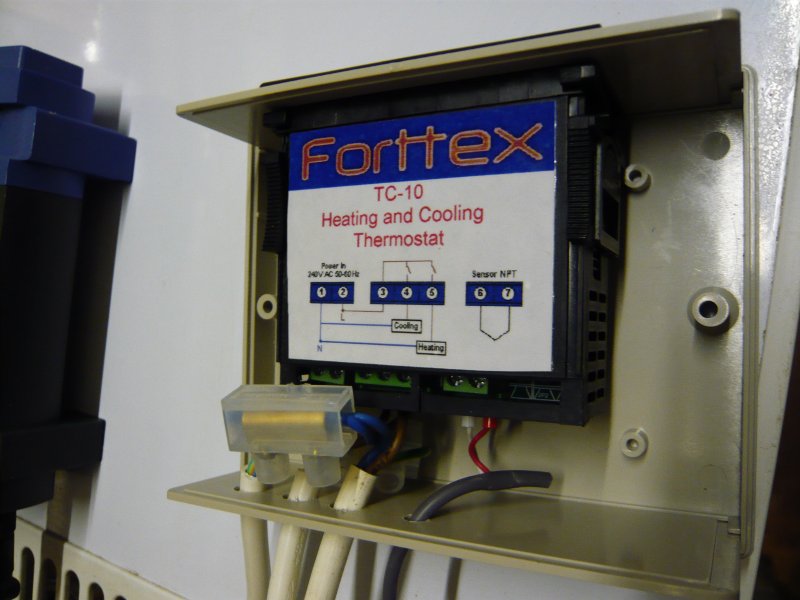
Wire up the TC-10. I followed the instructions on the top, and while they were straightforward, fitting the wiring into the box they provide was a bit of a pain. Mains in, fridge power and heater power can be seen on the left, with the sensor cable on the right.
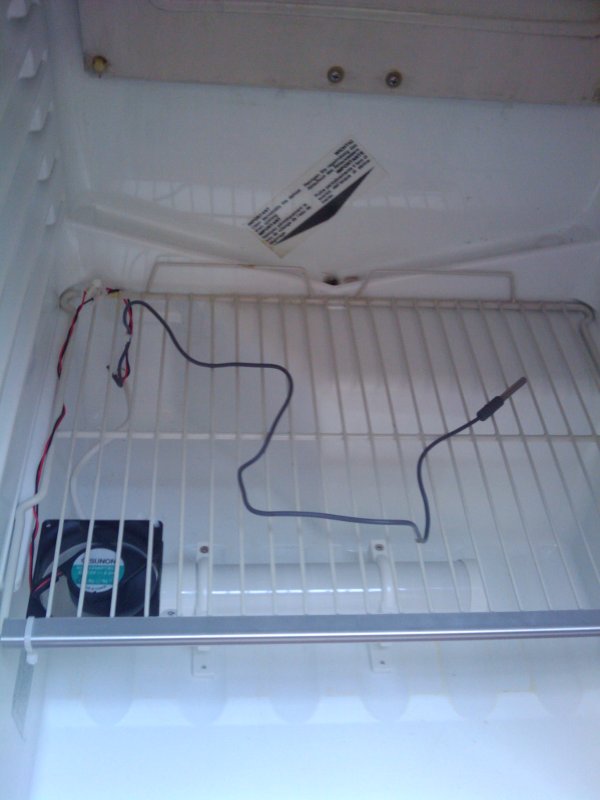
Cable tie the fan onto the bottom of the shelf - I've configured mine to blow air upwards from the bottom. You can see the sensor resting on the shelf ready to be stuck to the side of a fermentation bin :)
Plug the TC-10 in and set the desired temperature (and any other parameters). Done :)
