Home Brewing | Equipment | Making the Boiler
The boiler in my setup is both the 'Kettle' and the HLT (Hot Liquor Tun) - that is it's used both to boil the wort as well as heat up and hold the water for mashing and sparging the grain.My design has two 2.2KW elements to bring the wort to the boil quickly. One is then switched off and the other keeps it on a rolling boil - I might switch the elements over half way through the boil to decrease the strain on any one element.
Warning: This isn't intended as a concrete guide, it's just a write up of how I went about it. It involves taking mains powered things apart and mixing them with water. If you're not sure what you're doing you should buy one ready assembled.
If you do decide to make your own at least use an RCD when using it, as I will be doing.
Also note, two 2.2KW elements will pull around 20 amps in total when both switched on. Make sure your mains sockets (and wiring) can handle this.
Materials Used
- 1 x A sturdy plastic bucket - in this case a Youngs 33L FV (Fermentation Vessel)
- 2 x 2.2KW kettle elements each from a cheap ASDA kettle
- 1 x 25cm length of copper pipe for the hop strainer
- 1 x 1/2 inch ball valve
- 2 x 15mm compression fitting to 1/2 inch threaded connector
- 1 x 6cm length of copper pipe to attach the right-angled shaped tap end to
- 1 x right angled 15mm pipe connector
- 2 x kettle leads (NOT PC leads - these are not adequately rated for the temperature or current)
Tools Used
- Drill
- Holesaw - 38mm bit
- Various drillbits
- Round file
- Spanner
Method
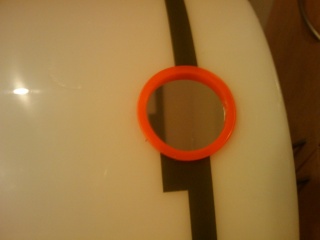
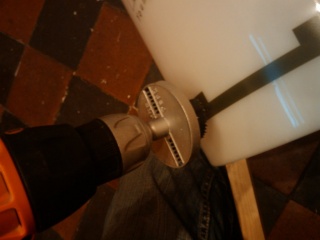
Drill the holes for the elements - the 38mm hole tool is perfectly sized for this (doesn't happen often).
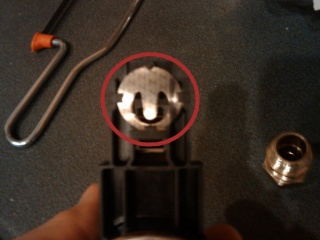
Before fitting the elements, remove the bi-metallic disk (highlighted in red) that turns the element off when the water is boiling.
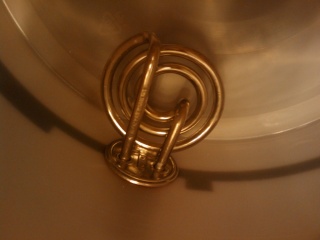
Fix the element to the boiler using the original screws.
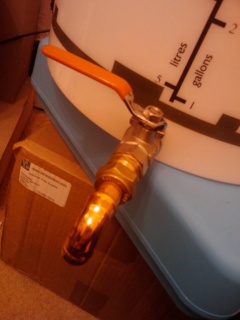
Next drill a hole for the 15mm to 1/2 inch connector - I had to drill a largeish hole and then carefully use the round file to make the hole just big enough to screw the fitting into. Once the connector is in place screw on the ball valve, the second 15mm to 1/2 inch connector, the copper spacing pipe and finally the right angled connector.
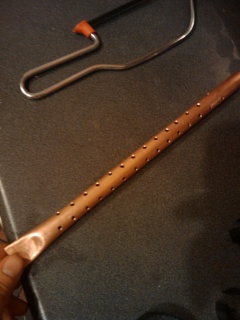
Finally we need to make the hop strainer. In my case this is the 25cm length of copper tube which has one end hammered shut (doesn't need to be water tight - just hop tight ), which then has around 40 ~5mm holes drilled in it. I found drilling a tiny pilot hole first was the only way to stop the drill wandering over the pipe. If you've got a centre punch you might want to use that first.
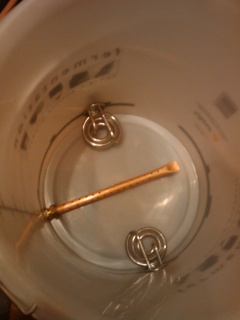
Attach the hop strainer to the 15mm compression joint inside the boiler, tighten all the joints and your done :) Here is the completed interior of the boiler.
